Beginners Bicycle Maintenance Checklist
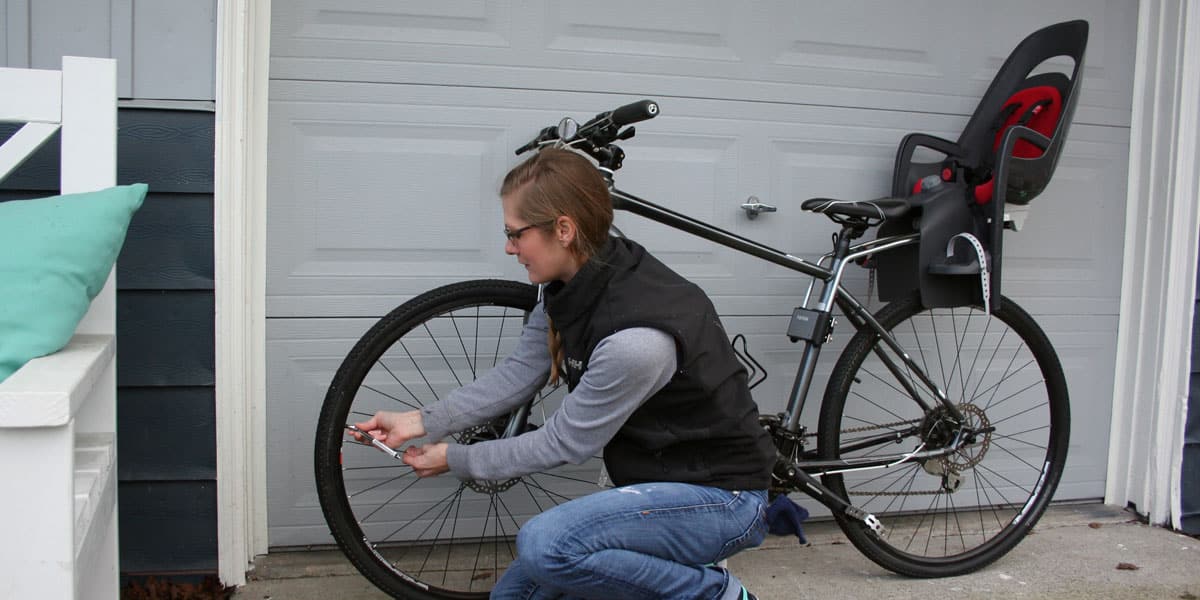
There’s nothing more fun than sailing down a path with the wind in your hair, and your spirits in the sky. Bicycle maintenance may not sound nearly as appealing, but it is a necessary step to achieve that flying feeling. A flat tire or slipped chain are only minor inconveniences when you have taken the time to perform regular maintenance on your bike. Otherwise, they may turn your dream ride into a nightmare. Follow the below steps to keep your bike in tip-top shape. Then get out there and make your dreams come true.
Pre-Ride Inspection
Before heading out for a ride, you should always do a quick once-over of your bike. This process will take only a few minutes, and you’ll be on your way.
Tires
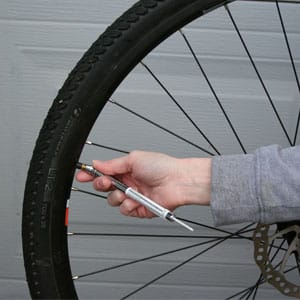
Proper tire pressure helps to keep you safe and your bike traveling smoothly. Tires don’t have to be punctured to leak air, so it is important to check your tire pressure on a regular basis. To check the tire pressure, unscrew the valve stem on your tire. Then put the tire pressure gauge on the valve stem. You’ll want to push down hard enough that your gauge provides a reading and the hissing of air stops. If the tire is very flat, the valve stem may be pushed into the tire. If this occurs, push the valve stem back out from the other side of the tire. Fill the tire with some air before trying to read the pressure again.
Inspect your tires for cuts or wear. Tire wear is often indicated by the squaring off of the tread or exposed thread of the casing below the tread. Another indication of worn tires is the experience of several flat tires within a short period. This happens because the tread of the tire is no longer enough to protect the inside tube from any sharp objects that may be on the road. Don’t worry though, bike tires typically last for 1,500 – 4000 miles. The rear tires will wear more quickly as that is where most of the rider’s weight will sit.
You’ll also want to check any quick-release knobs on your wheels if your bike is equipped with them. It is important that they are secured tightly so as not to come loose while you are riding.
Brakes
 There are several methods to check the brakes on your bike when performing bicycle maintenance. First pull each brake lever individually and attempt to push your bike forwards. The bike should not move forward at all. Then pick up one end of your bike and softly spin the wheel. Ensure that the wheel does not brush against the brake pads. Repeat this step with the other wheel. Inspect each brake pad to see if they are dirty or worn. Do not touch brake pads with your fingers. The oil on your hands will affect the performance of the brakes and degrade the pads over time.
Brake pads do need replacing from time to time – more often during winter as they will pick up more grit when roads are wet. If your brakes are not worn, but you feel that you are not braking as quickly as you would like, they may just need to be adjusted or tightened. Jenni Gwiazdowski from the London Bike Kitchen notes that “As a general rule, when your brakes stop working so well – for example when you’re pulling the lever almost against the handlebar to stop – check them and see if they need to be changed. If they still have a thick layer of compound, then all you need to do is tighten your brake cable.”
Chain
Prep your chain for riding by adding a bike-specific lubricant. Allow the lubricant to soak in for a few minutes before wiping off the excess with a clean cloth.
Bolts
Inspect your bike for loose bolts and tighten with a wrench if necessary. The key parts are crank bolts, chainring bolts, pedals, stem bolts, derailleur mounting bolts, derailleur pulley bolts, brake bolts, seat-post bolt, and the seat bolt. To check the headset bolt by applying the front brake and rocking the bike back and forth. If there is any play in the handlebars the headset may need adjustment.
Cleaning
How and What to Clean when Performing Bicycle Maintenance
For many cyclists, the hardest part of the bike to keep clean is the chain. It tends to get gunked up over time and distance especially if riding during the rainy, winter months. To ease this problem, go easy on the lube and make sure to wipe off any extra lubrication after you have let it soak in. It is also very important to use the appropriate lubrication for your riding conditions and bike. Most bike shops are happy to recommend a type that is best for your needs.
Another challenge many cyclists face is riding during wet and muddy weather. The best time to deal with mud is right when you get home from your ride. If you let the mud dry, it is much more difficult to remove without scratching the frame of your bike. Washing the mud off right away also saves you from needing to scrub your bike – and nobody needs one more thing to scrub.
Assembling a simple cleaning kit and keeping it handy is a great way to remember to keep your bike clean. Include a bucket, some brushes and sponges, and some detergent. After soaping up your bike, rinse with trickling water from top to bottom. Never blast high-pressure water at a bike as it can wash lubricant off parts and out of the bearings. This can cause serious problems in the future. After washing, make sure to re-lubricate your chain and derailleurs.
Proper Bike Storage
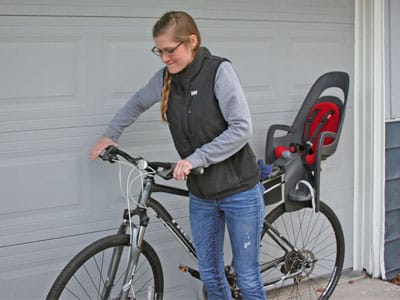
Keeping your bike clean can be made easier by storing your bike inside and out of the weather. Even under an overhang, bikes stored outside will be affected by the weather. The dampness in the air will cause rusting of the steel parts, the ozone will attack the tires, and sunlight will fade the paint on your bike. If you live near the ocean it is especially important to store your bike inside as the salt in the air will corrode the metal more quickly.
Hooks placed on the wall are a great way to keep your bike protected and out of the way when not in use. There are also bike racks made specifically for storing bikes inside.
Accessories
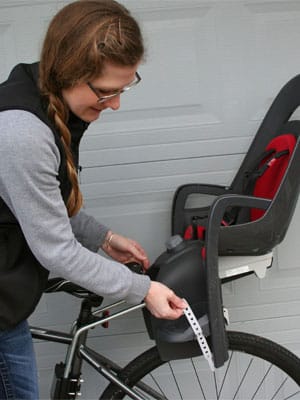
While you are completing your bicycle maintenance it’s a good idea to run through any accessories such as child bike seats. You’ll want to make sure that they are securely attached per manufacturer instructions and that all components are working. Straps should not be frayed or torn and should adjust easily. The buckle should be easy to use, but not have any slippage. Double check that shoulder straps and footrests are properly placed for your child’s height. It’s amazing how fast kiddos sprout up! Finally, make sure that your helmet is in good condition and fits appropriately.
